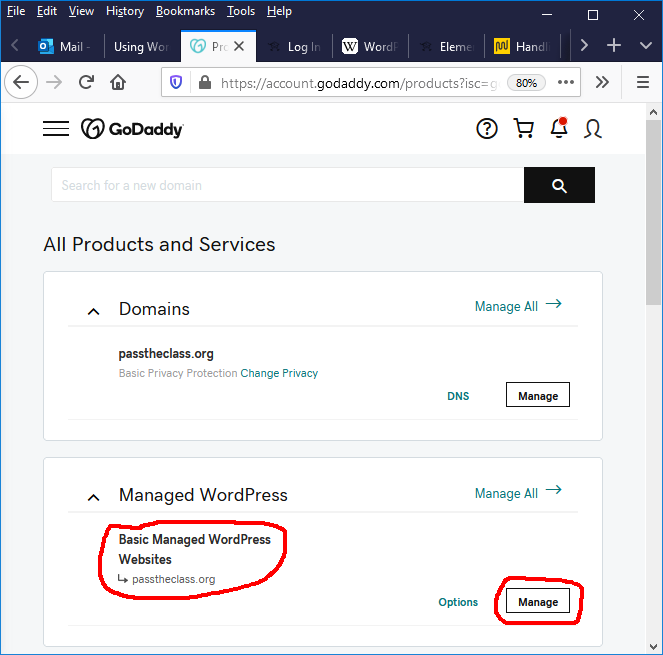
Many times, the GoDaddy will not allow you to enter because it puts the cookies in the browsers. When it happens, delete all GoDaddy’s cookies from the browser, restart the browser, and sign in again. For Firefox, follow the path below to delete the cookies:
   Tools (browser menu) ⇒ Options ⇒ Privacy & Security ⇒ Cookies and Site Data
         ⇒ Manage Data ⇒ Search for “GoDaddy” ⇒ Remove All
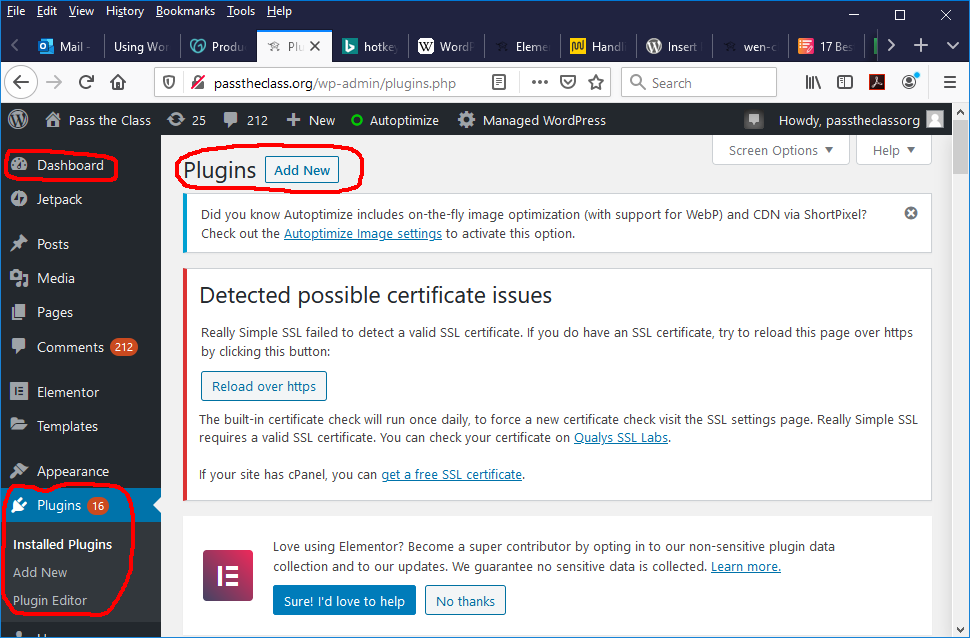
Dashboard ⇒ Plugins ⇒ Add NewThere are many plugins available, and the plugins “Customer HTML,” “ Insert PHP Snippet,” and “PHP+HTML” are added so far.
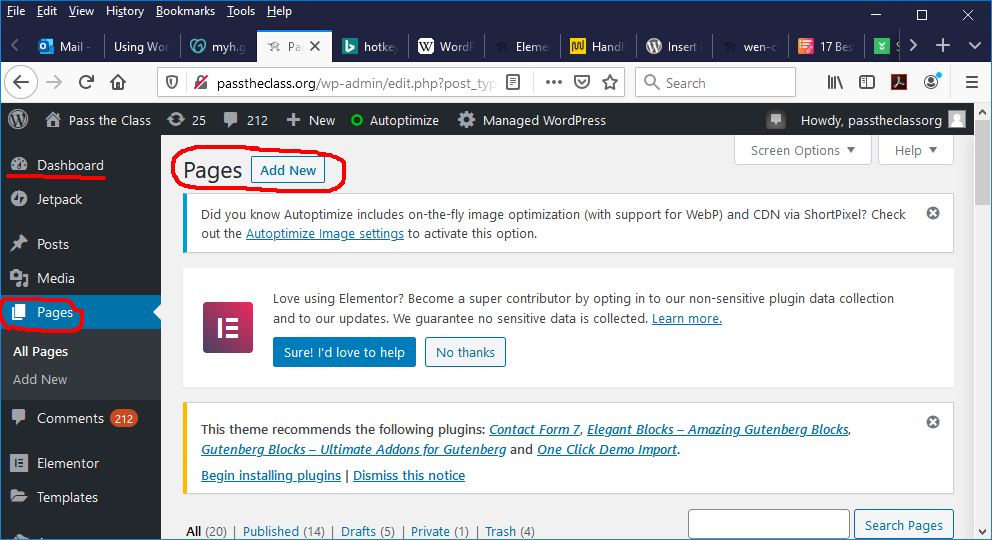
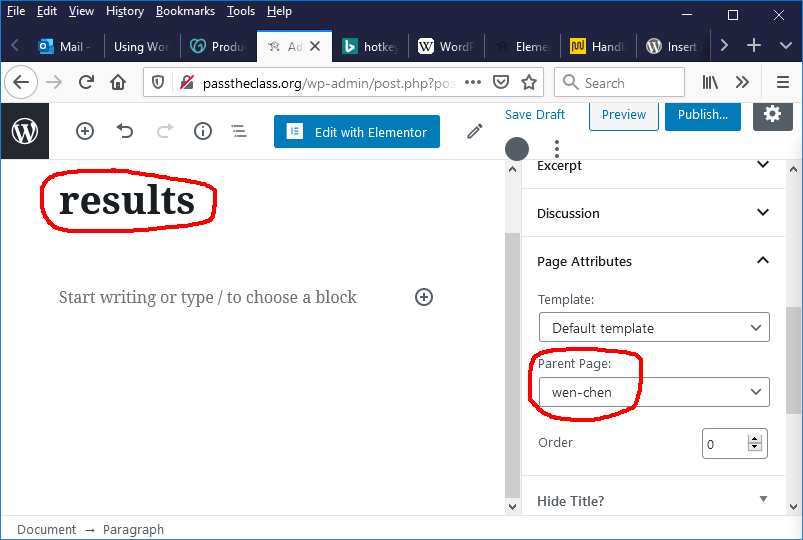
Dashboard ⇒ Pages ⇒ Add NewThe following 2 pages are created:
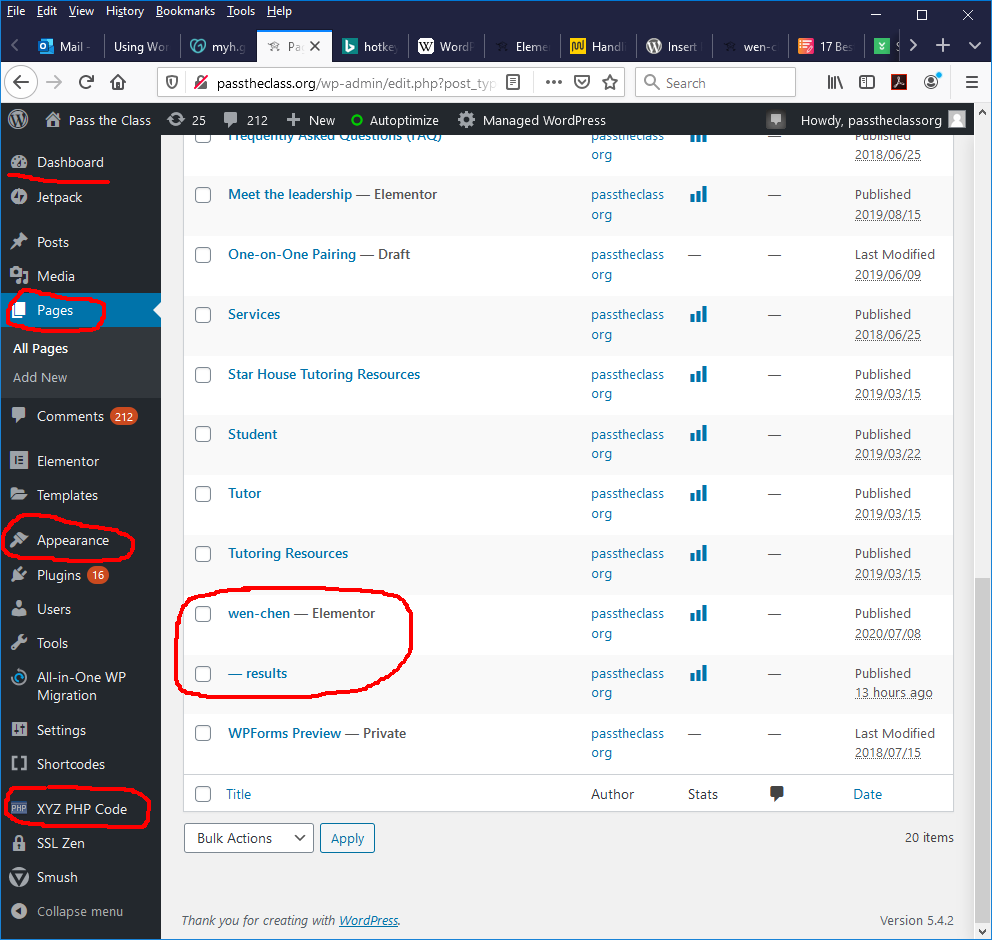
   http://passtheclass.org/wen-chen/
   http://passtheclass.org/wen-chen/results/
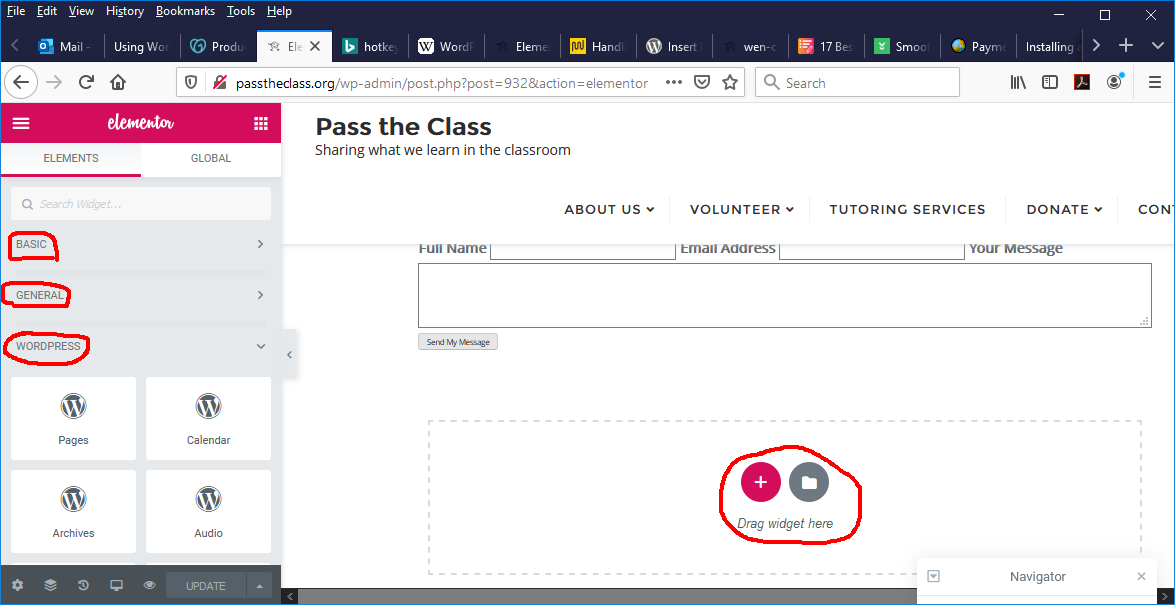
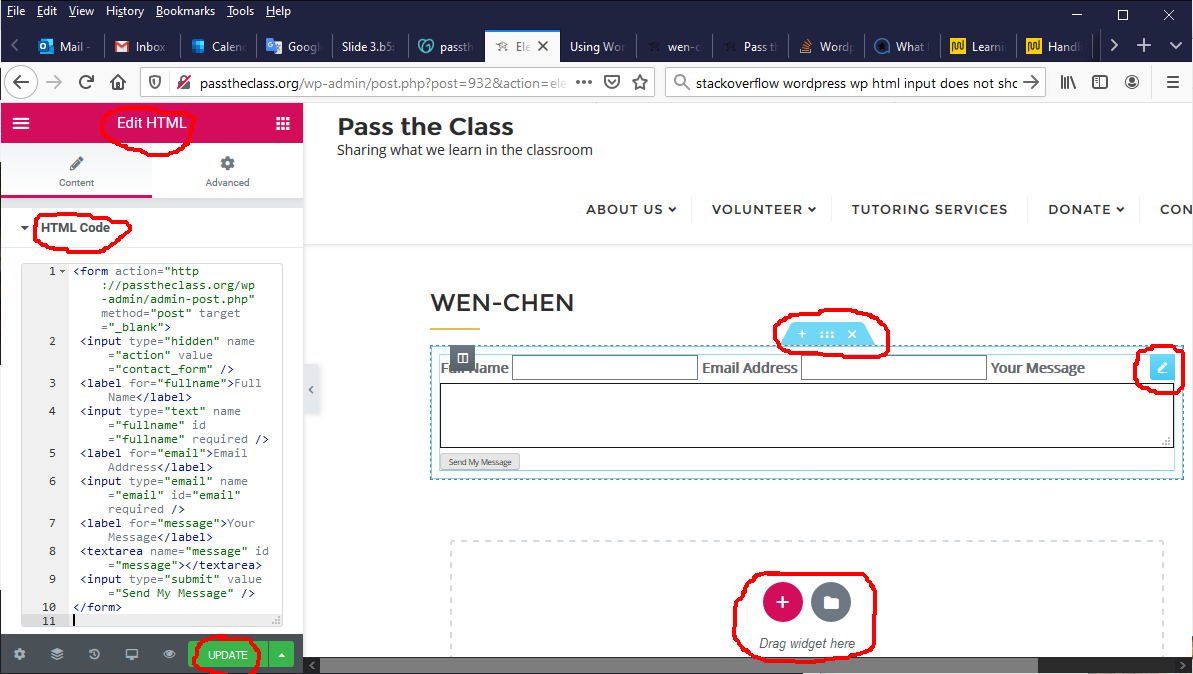
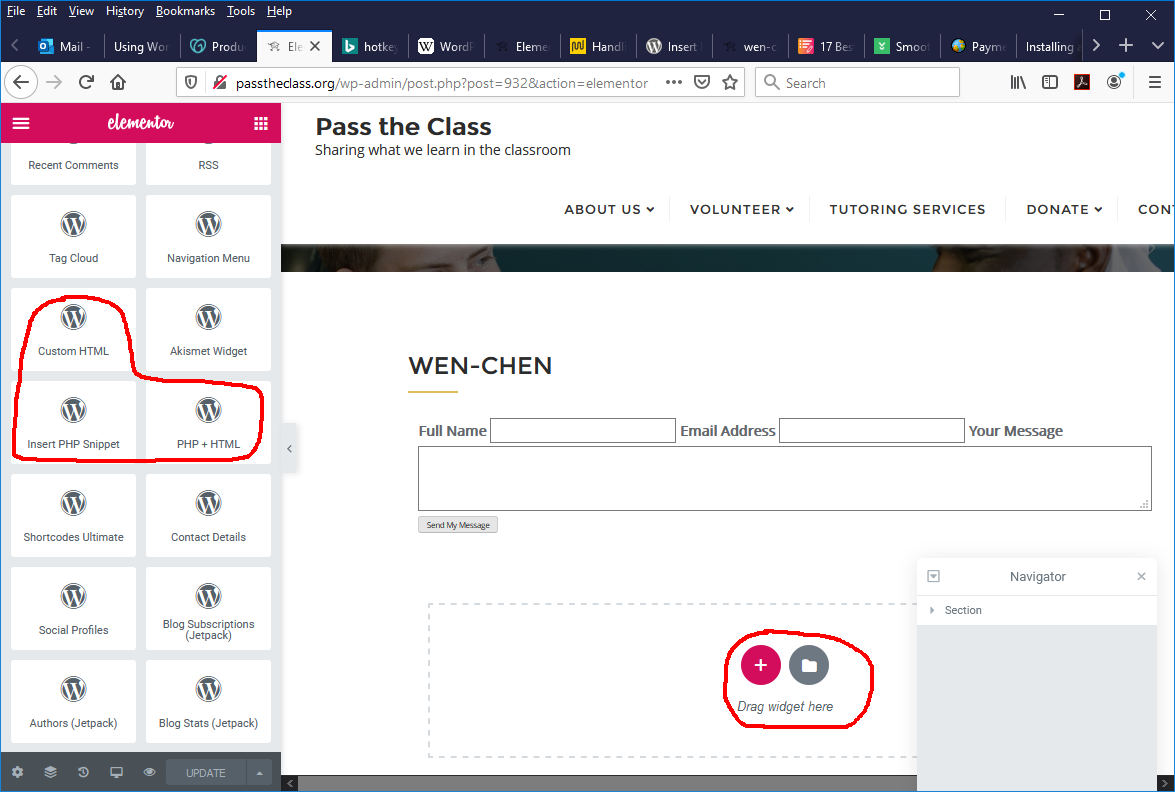
Drag the widget “HTML” and start writing the HTML code:
HTML Code of the “HTML” Plugin
|
|---|
<form action="http://passtheclass.org/wp-admin/admin-post.php" method="post"> <input type="hidden" name="action" value="contact_form" /> <label for="fullname">Full Name</label> <input type="text" name="fullname" id="fullname" required /> <label for="email">Email Address</label> <input type="email" name="email" id="email" required /> <label for="message">Your Message</label> <textarea name="message" id="message"></textarea> <input type="submit" value="Send My Message" /> </form> |
| The SQL Commands Used |
CREATE TABLE Courses (
number char( 10 ) PRIMARY KEY,
name varchar( 16 ) ) ENGINE=InnoDB;
INSERT INTO Courses VALUES ('457','E-Commerce'), ('351','File Processing');
CREATE TABLE Enrollments (
name varchar( 32 ),
course char( 10 ),
PRIMARY KEY ( name, course ),
FOREIGN KEY ( course ) REFERENCES Courses ( number ) ) ENGINE=InnoDB;
INSERT INTO Enrollments VALUES ('Bart', '351'), ('Bart', '457');
INSERT INTO Enrollments
SELECT 'Ben', number FROM Courses WHERE name = 'E-Commerce';
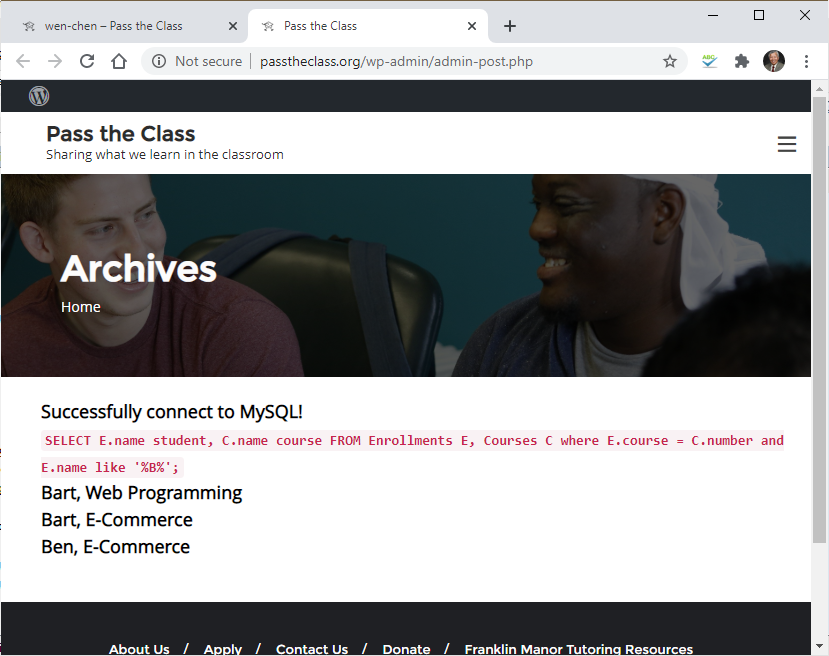
SELECT E.name student, C.name course
FROM Enrollments E, Courses C
WHERE E.course = C.number AND E.name LIKE '%fullname%';
|
functions.php File.functions.php file:
Dashboard ⇒ Appearance ⇒ Theme Editor ⇒ Theme Files ⇒ functions.php
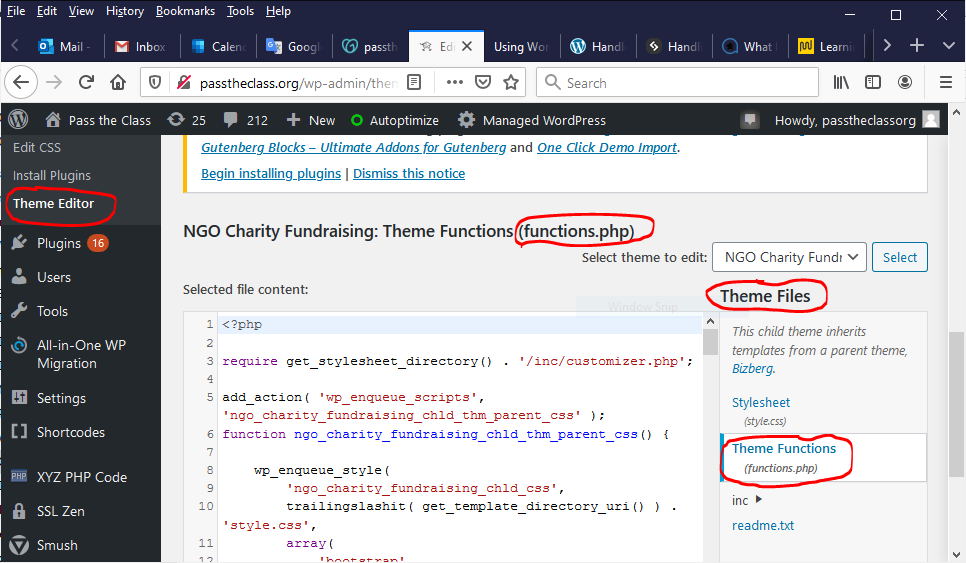
Add the following code to the
functions.php file:
functions.php
|
|---|
add_action( 'admin_post_nopriv_contact_form', 'db_conn' );
add_action( 'admin_post_contact_form',        'db_conn' );

function db_conn( ) {
  get_header( );
  $username = "wenchen@undcsmysql";
  $database = "wenchen";
  $host     = "undcsmysql.mysql.database.azure.com:3306";
  $password = "database";

  // Connect to the database.
  $conn     = new mysqli( $host, $username, $password, $database );

  if ( !$conn )
    die( 'Could not connect to MySQL: ' . mysql_error( ) );
  else {
    echo "<table width='90%'><tr><td width='5%' /><td><b>";
    echo "<font size='+1' color='black'>Successfully connect to MySQL!";
    $sql  = "SELECT E.name student, C.name course FROM  Enrollments E, Courses C ";
    $sql .= "where E.course = C.number and E.name like ";
    $sql .= "'%" . $_POST['fullname'] . "%'";
    echo "<font color='#3366CC'><code>$sql;</code></font>";

    $result = $conn->query( $sql );
    if ( $result->num_rows > 0 )
      while( $row = $result->fetch_assoc( ) )
        echo $row['student'] . ", " . $row['course'];
    echo "</font></b></td></tr></table>";
    $conn->close( );
  }
  get_footer( );
}
|
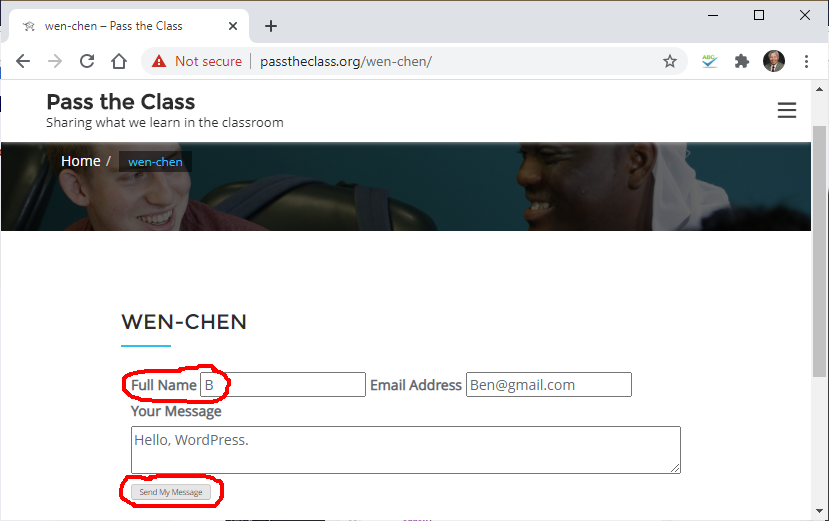
⇓ (after clicking the botton “Send My Message”)