   Start ⇒ All Programs
         ⇒ Visual Studio 2019
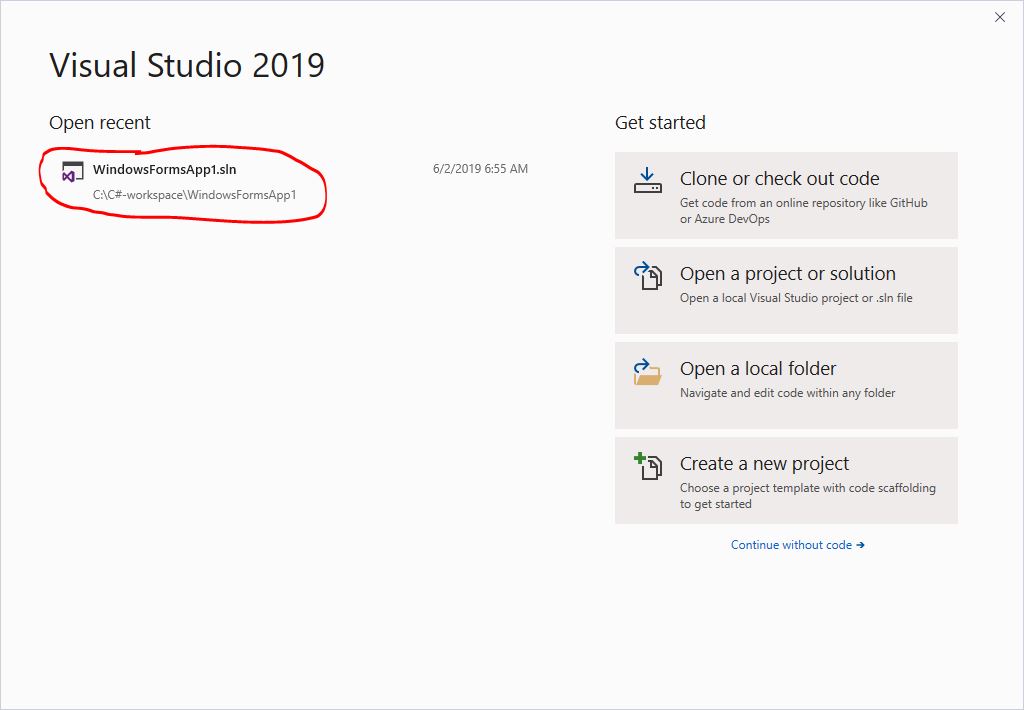
If you want to open an existing project, pick the project with the .sln (solution) file extension as follows.
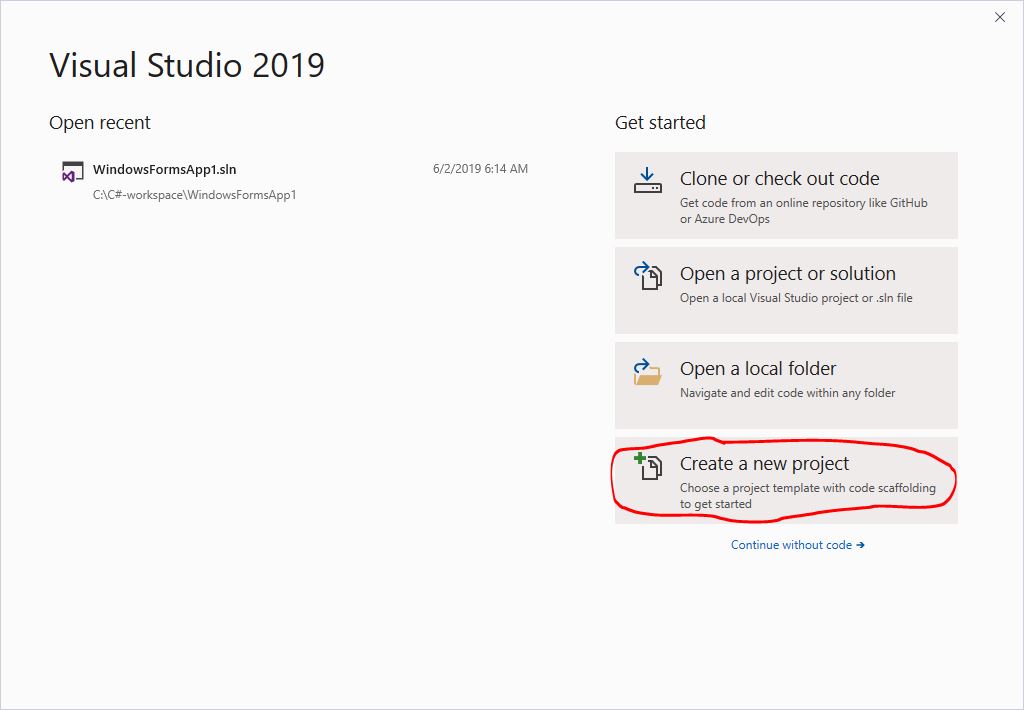
Otherwise, go to the next step.
- Pick the option “Create a new project.”
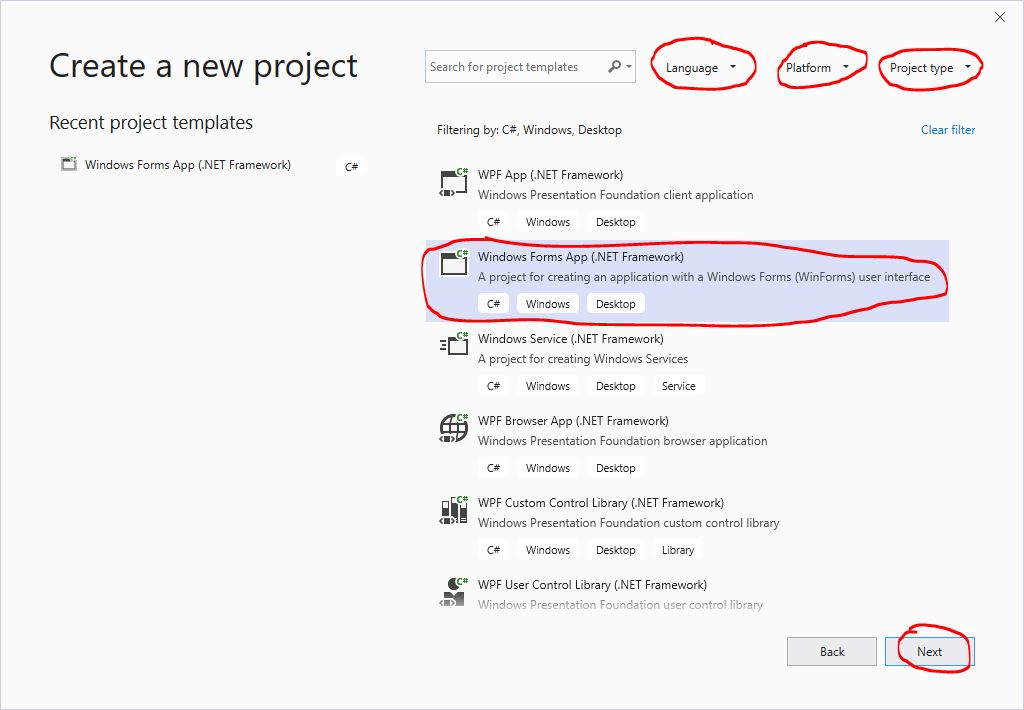
- Enter the options:
- Language: C#,
- Platform: Windows, and
- Project: Desktop.
- Configure the project by entering the following information:
- Project name such as
WindowsFormsApp1, - Location such as
C:\C#-workspace, and - Checking “Place solution and project in the same directory.”

- Project name such as
- Visual Studio IDE (Integrated Development Environment) will be displayed as followss after clicking the button
Create:
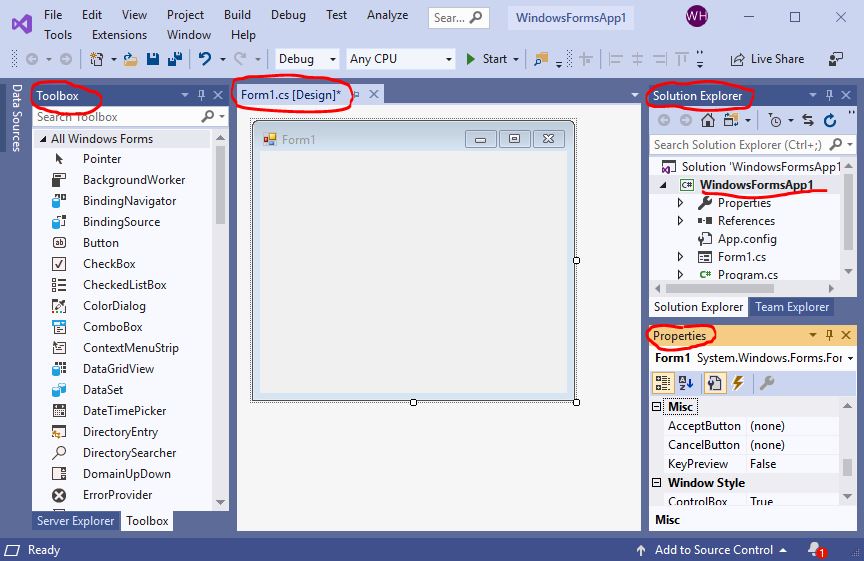
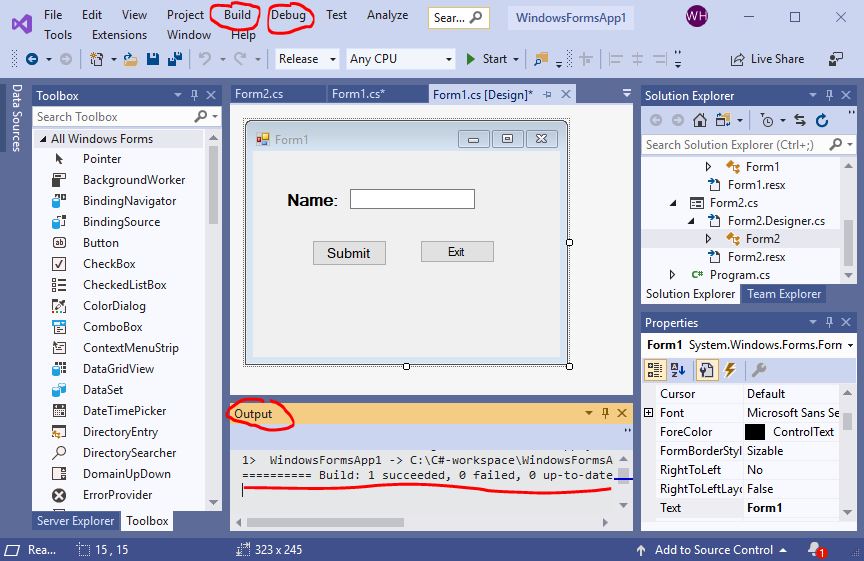
Form1.cs [Design].by using the panes of “All Windows Forms” of “Toolbox” and “Properties.” This user interface includes
- 1
Label, whose value of the propertyTextisName:, - 1
TextBox, whose value of the propertyNameistextBox1, and - 2
Buttons, whose values of the propertiesNamearebutton1andbutton2, respectively, and the values of the propertiesTextareSubmitandExit, respectively.
For how to create a Visual Studio user interface, check Creating the Visual Look of Your Program: Introduction to Windows Forms.
Form1.cs.
C:\C#-workspace\WindowsFormsApp1\Form1.cs
|
 using System;
 using System.Windows.Forms;

 namespace WindowsFormsApp1 {
   public partial class Form1 : Form {
     public Form1( ) {
       InitializeComponent();
       }
     public static string sendtext = "";
     private void Button1_Click( object sender, EventArgs e ) {
       sendtext = textBox1.Text;
       Form2 frm = new Form2( );
       frm.Show( );
       this.Visible = false;
     }
     private void Button2_Click( object sender, EventArgs e ) {
       Application.Exit( );
     }
   }
 }
|
where the method
InitializeComponent loads the compiled page of a component.
Just leave it there.
This program is to send the entered name to the form, Form2, which displays the name.
For how to write a C# program, check C# Tutorial.
Form2.cs [Design].Project ⇒ Add Windows Form...
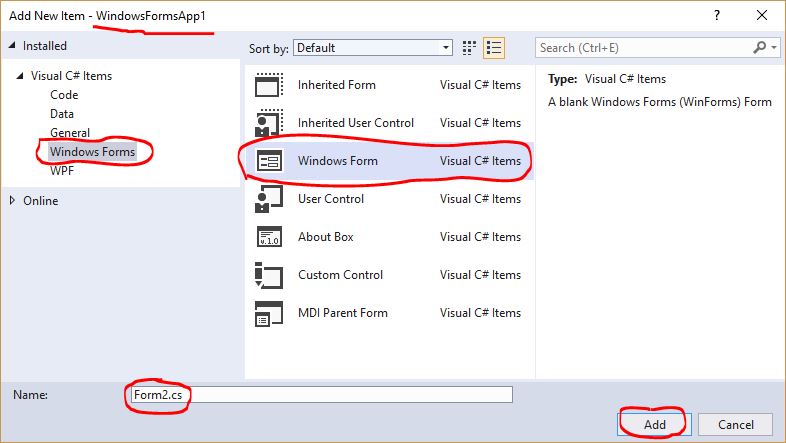
Form2.cs [Design].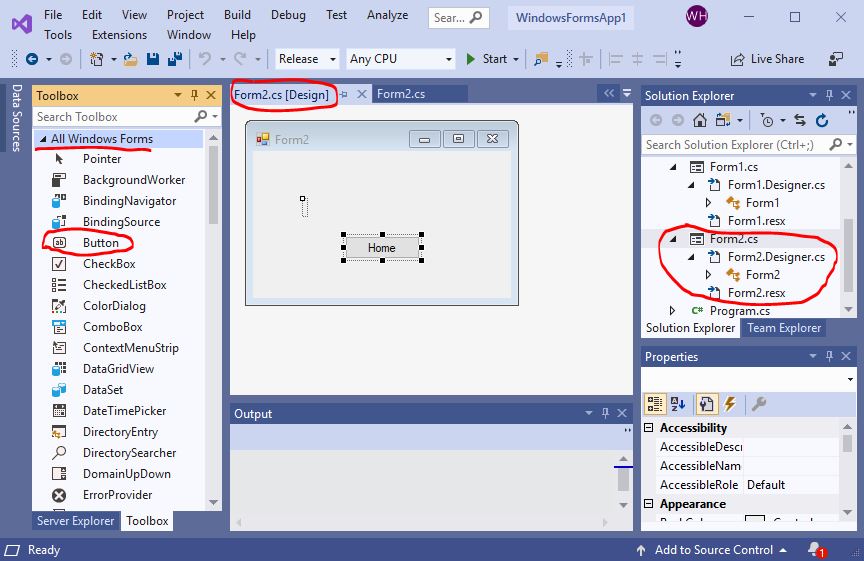
This user interface includes
- 1
Label, whose values of the propertiesNameandTextarelable1and an empty string, respectively. - 1
Button, whose values of the propertiesNameandTextarebutton1andHome, respectively.
Form2.cs.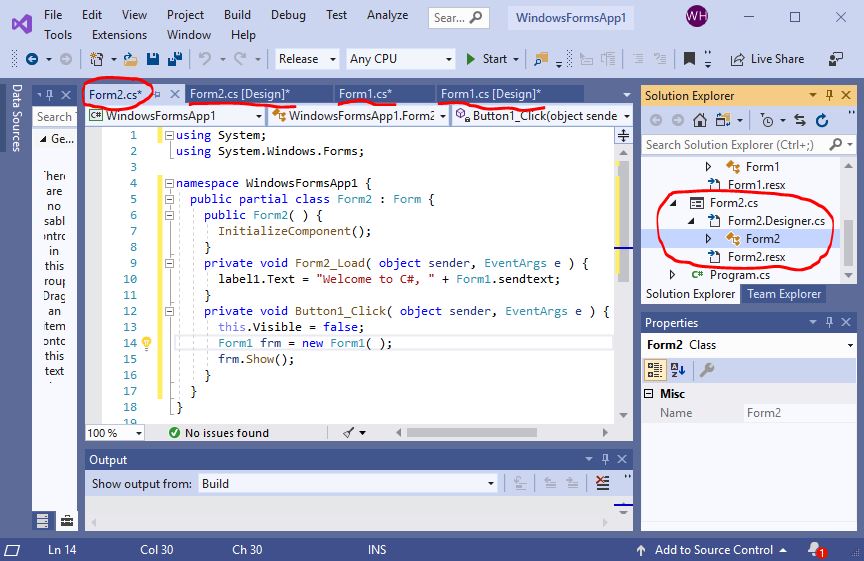
C:\C#-workspace\WindowsFormsApp1\Form2.cs
|
 using System;
 using System.Windows.Forms;

 namespace WindowsFormsApp1 {
   public partial class Form2 : Form {
     public Form2( ) {
       InitializeComponent( );
     }
     private void Form2_Load( object sender, EventArgs e ) {
       label1.Text = "Welcome to C#, " + Form1.sendtext;
     }
     private void Button1_Click( object sender, EventArgs e ) {
       this.Visible = false;
       Form1 frm = new Form1( );
       frm.Show( );
     }
   }
}
|
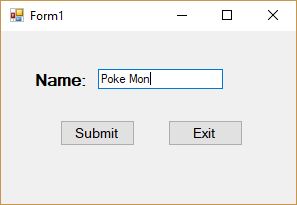
It displays the name entered in the Form1.
Note that thePage_Load( )orForm2_Load( )method may not work if it is entered manually. Instead, double click the form of the design view and use the template generated by it.
Build ⇒ Build Solution
If you encounter an error like
Unable to copy file "obj\Release\WindowsFormsApp4.exe" to "bin\Release\WindowsFormsApp4.exe". The process cannot access the file 'bin\Release\WindowsFormsApp1.exe' because it is being used by another process.WindowsFormsApp1”most likely because the previous execution did not exit formally. To solve this problem, use the Windows Task Manager (
Ctrl+Alt+Delete) to end the background processes.
Debug ⇒ Start Without DebuggingOne example of execution results is shown as follows:
|
Submit ⇒ ⇐ Home |

|